
The Best Tech-Stack for Beginners in 2024
Save huge amounts of time and focus on your code with Nuxt3 + Cloudflare Pages
Hey everyone! You’ve learned the basics of web development like HTML, CSS, and JavaScript and now you wonder:
What should I do next?
How can you get your projects from your local machine out in the wild, so others can use it?
Which tech stack should I use?
But wait, what is a tech stack?
Simple!
A tech stack is the collection of all the technology, programming languages, frameworks, or tools used to build and publish your software projects.
Don’t Start with an Old-School Stack because they are BAD for Beginners
A classic tech stack is the so-called LAMP stack.
LAMP is an acronym of all the technologies it includes.
It stands for:
L -Linux operating system
A - Apache webserver
M - MySQL database
P - PHP, the programming language

I don’t recommend traditional stacks like LAMP to beginners because they come with a massive downside.
You would have to manage a server, including all the parts like the hardware, the operating system and the database.
It can get quite tedious, being responsible for maintenance tasks like:
updates
database configuration
backups
keeping everything up and running.
If something fails, it would be your job to fix it and bring your software up again.
Best Tech Stack for Beginners
But, you want to focus on coding and building great features, not the boring stuff!
So allow me to introduce you to a very beginner-friendly tech-stack, which handles all the annoying tasks for you and lets you focus on your code.
The solution is Nuxt3 + Cloudflare.
But what’s Nuxt?
As a beginner, you’ve probably never heard it before.
Nuxt3 is a fullstack framework based on Vue.js.
Are you kidding me? So many terms in one sentence.
Let me clarify. 👇
First, what does fullstack mean?
Fullstack means that it covers the whole stack.
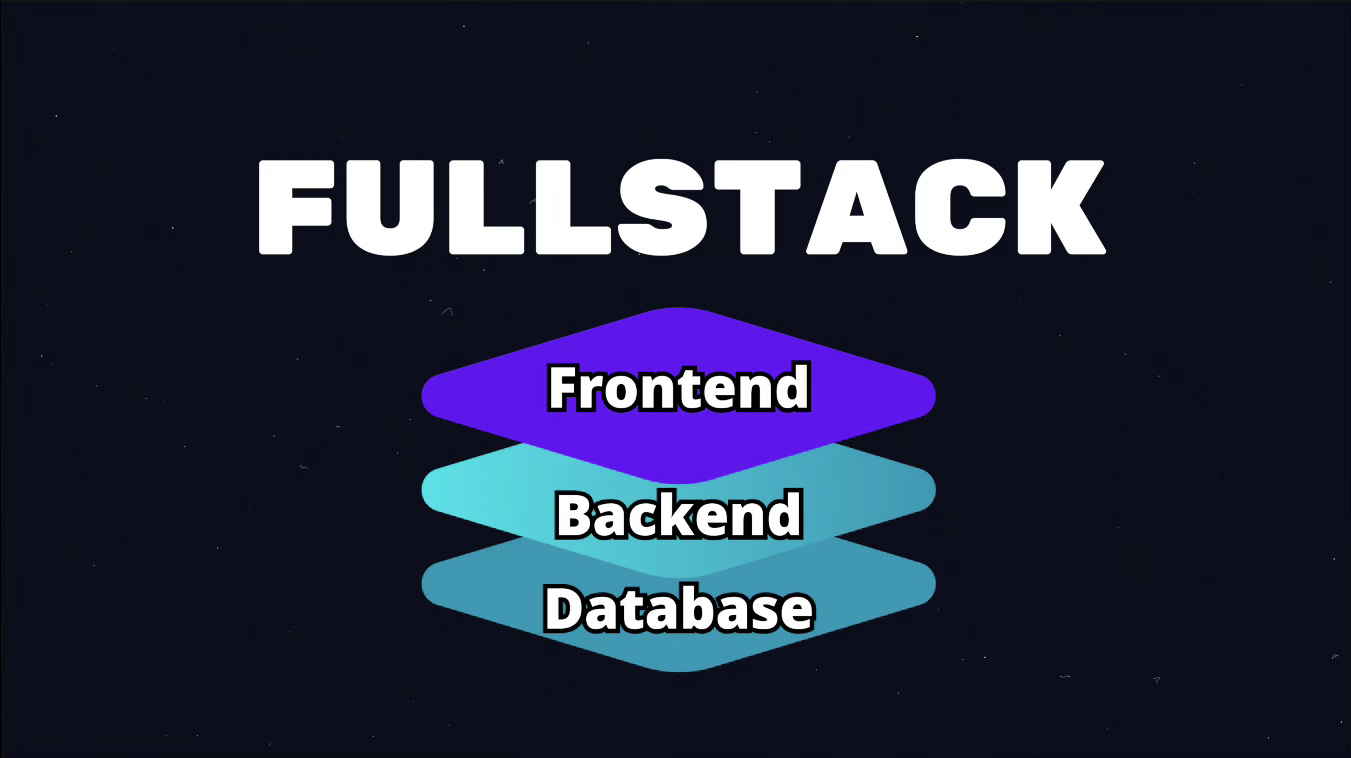
The frontend, which is what the user can see. It is the user interface of your app in the browser.
The backend which is the server code of your app, which is necessary to perform tasks in the background and access the database to store and retrieve data.
The second technical term was framework. A framework is like the foundation for your code. It helps you by managing common tasks for you and generally makes writing code easier.
Nuxt is a Vue.js framework. So it’s built on-top of Vue.js and makes developing applications even easier compared Vue.js alone.
Vue itself is a framework, which helps you to build frontends more easily compared to plain HTML, CSS, and JavaScript.
Maybe you’ve heard of React. React is similar to Vue: They are both Frontend Frameworks.
In my opinion, Vue is slightly easier to learn than React, that's why I recommend it to beginners.
Nuxt allows you to write frontend and backend code in one single project, which is perfect for beginners because you won’t have manage multiple codebases.
What’s Cloudflare?
Ok, the second part of our stack is handled by Cloudflare.
Cloudflare is a service which initial purpose was to improve the security of your websites.

Today it offers various services.
One of them is Cloudflare Pages, which is a hosting service, that allows you to publish your project without all the hassle.
Especially when using Nuxt. You can really just publish your project with a single click.
Create Your First Nuxt Project
To bootstrap a Nuxt project for Cloudflare Pages run the following command in your terminal.
npm create cloudflare@latest -- my-nuxt-app --framework=nuxtFollow the instructions of the script.
Confirm the installation of the Cloudflare and nuxi packages.
Select yes when you are asked whether to use git or not.
And the last thing select “no” for the deployment.
Let’s open the newly created project in our code editor.
Take a look at the created files. 👇
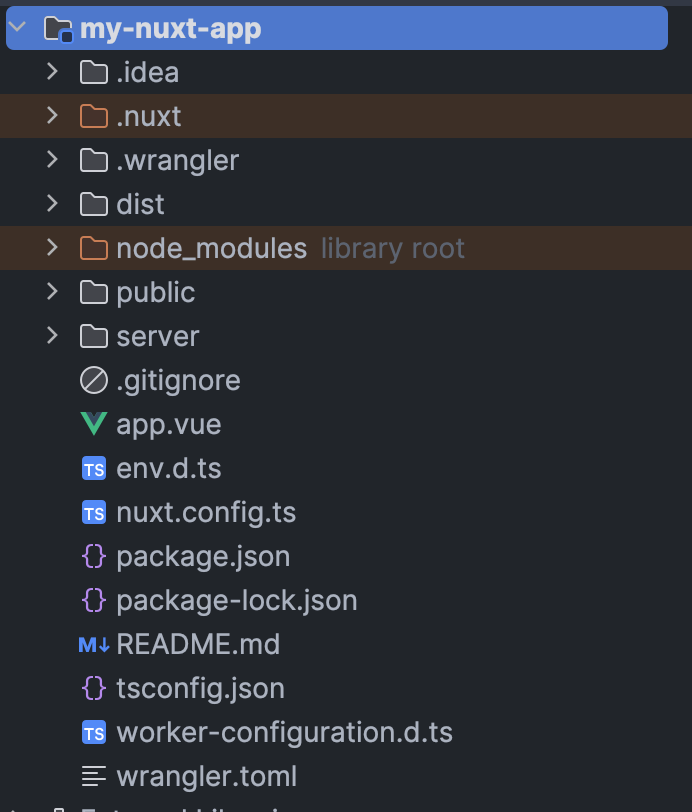
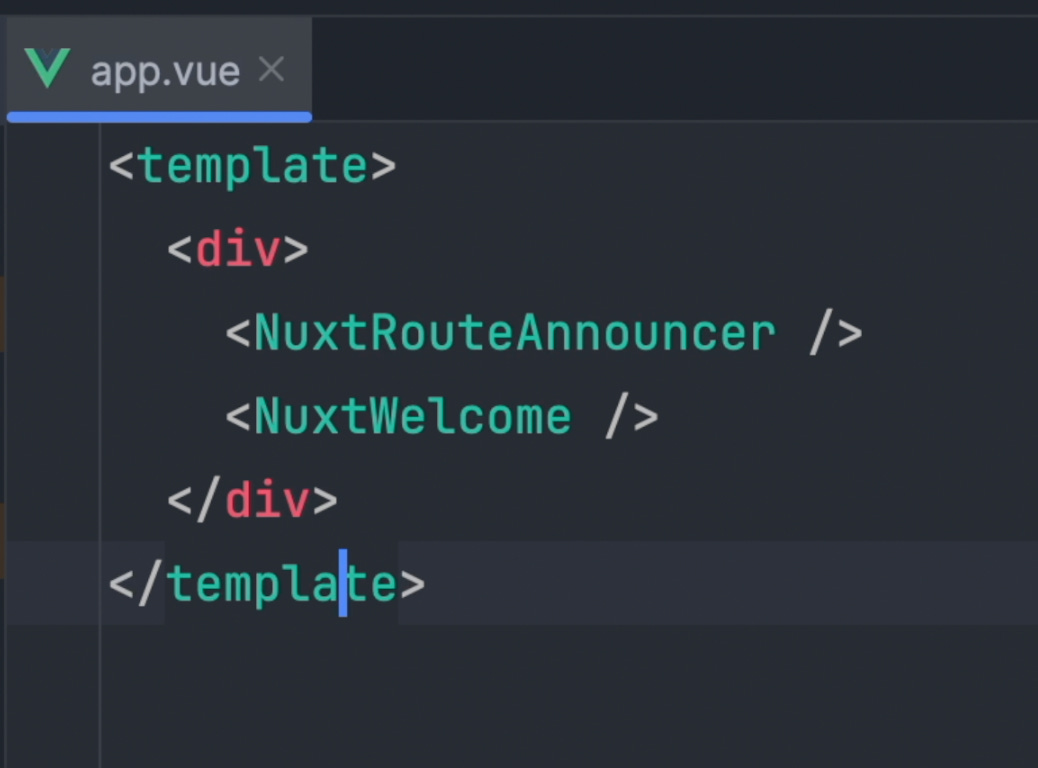
The app.vue file, is the entry-point of the app. The template of the file is where we write our HTML.
The HTML contains only 2 example components, <NuxtRouteAnnouncer>and <NuxtWelcome>.
What are packages?
Let’s open the package.json file.

The package.json defines all the packages and their version which we use with our project.
A package is a pre-built piece of code, typically open source.
They solve common problems or add features to our project.
And the cool thing 😎 …
We don’t have to write the code, we just add the package.
Vue and Nuxt are packages too, for example.
Run the App Locally
To run our app to see it in action, let’s open the terminal and run npm run dev.
This will start Nuxt with a local development server. We can see our code in action and check if everything works as expected, before publishing the project.
So let’s open our browser at
http://localhost:3000
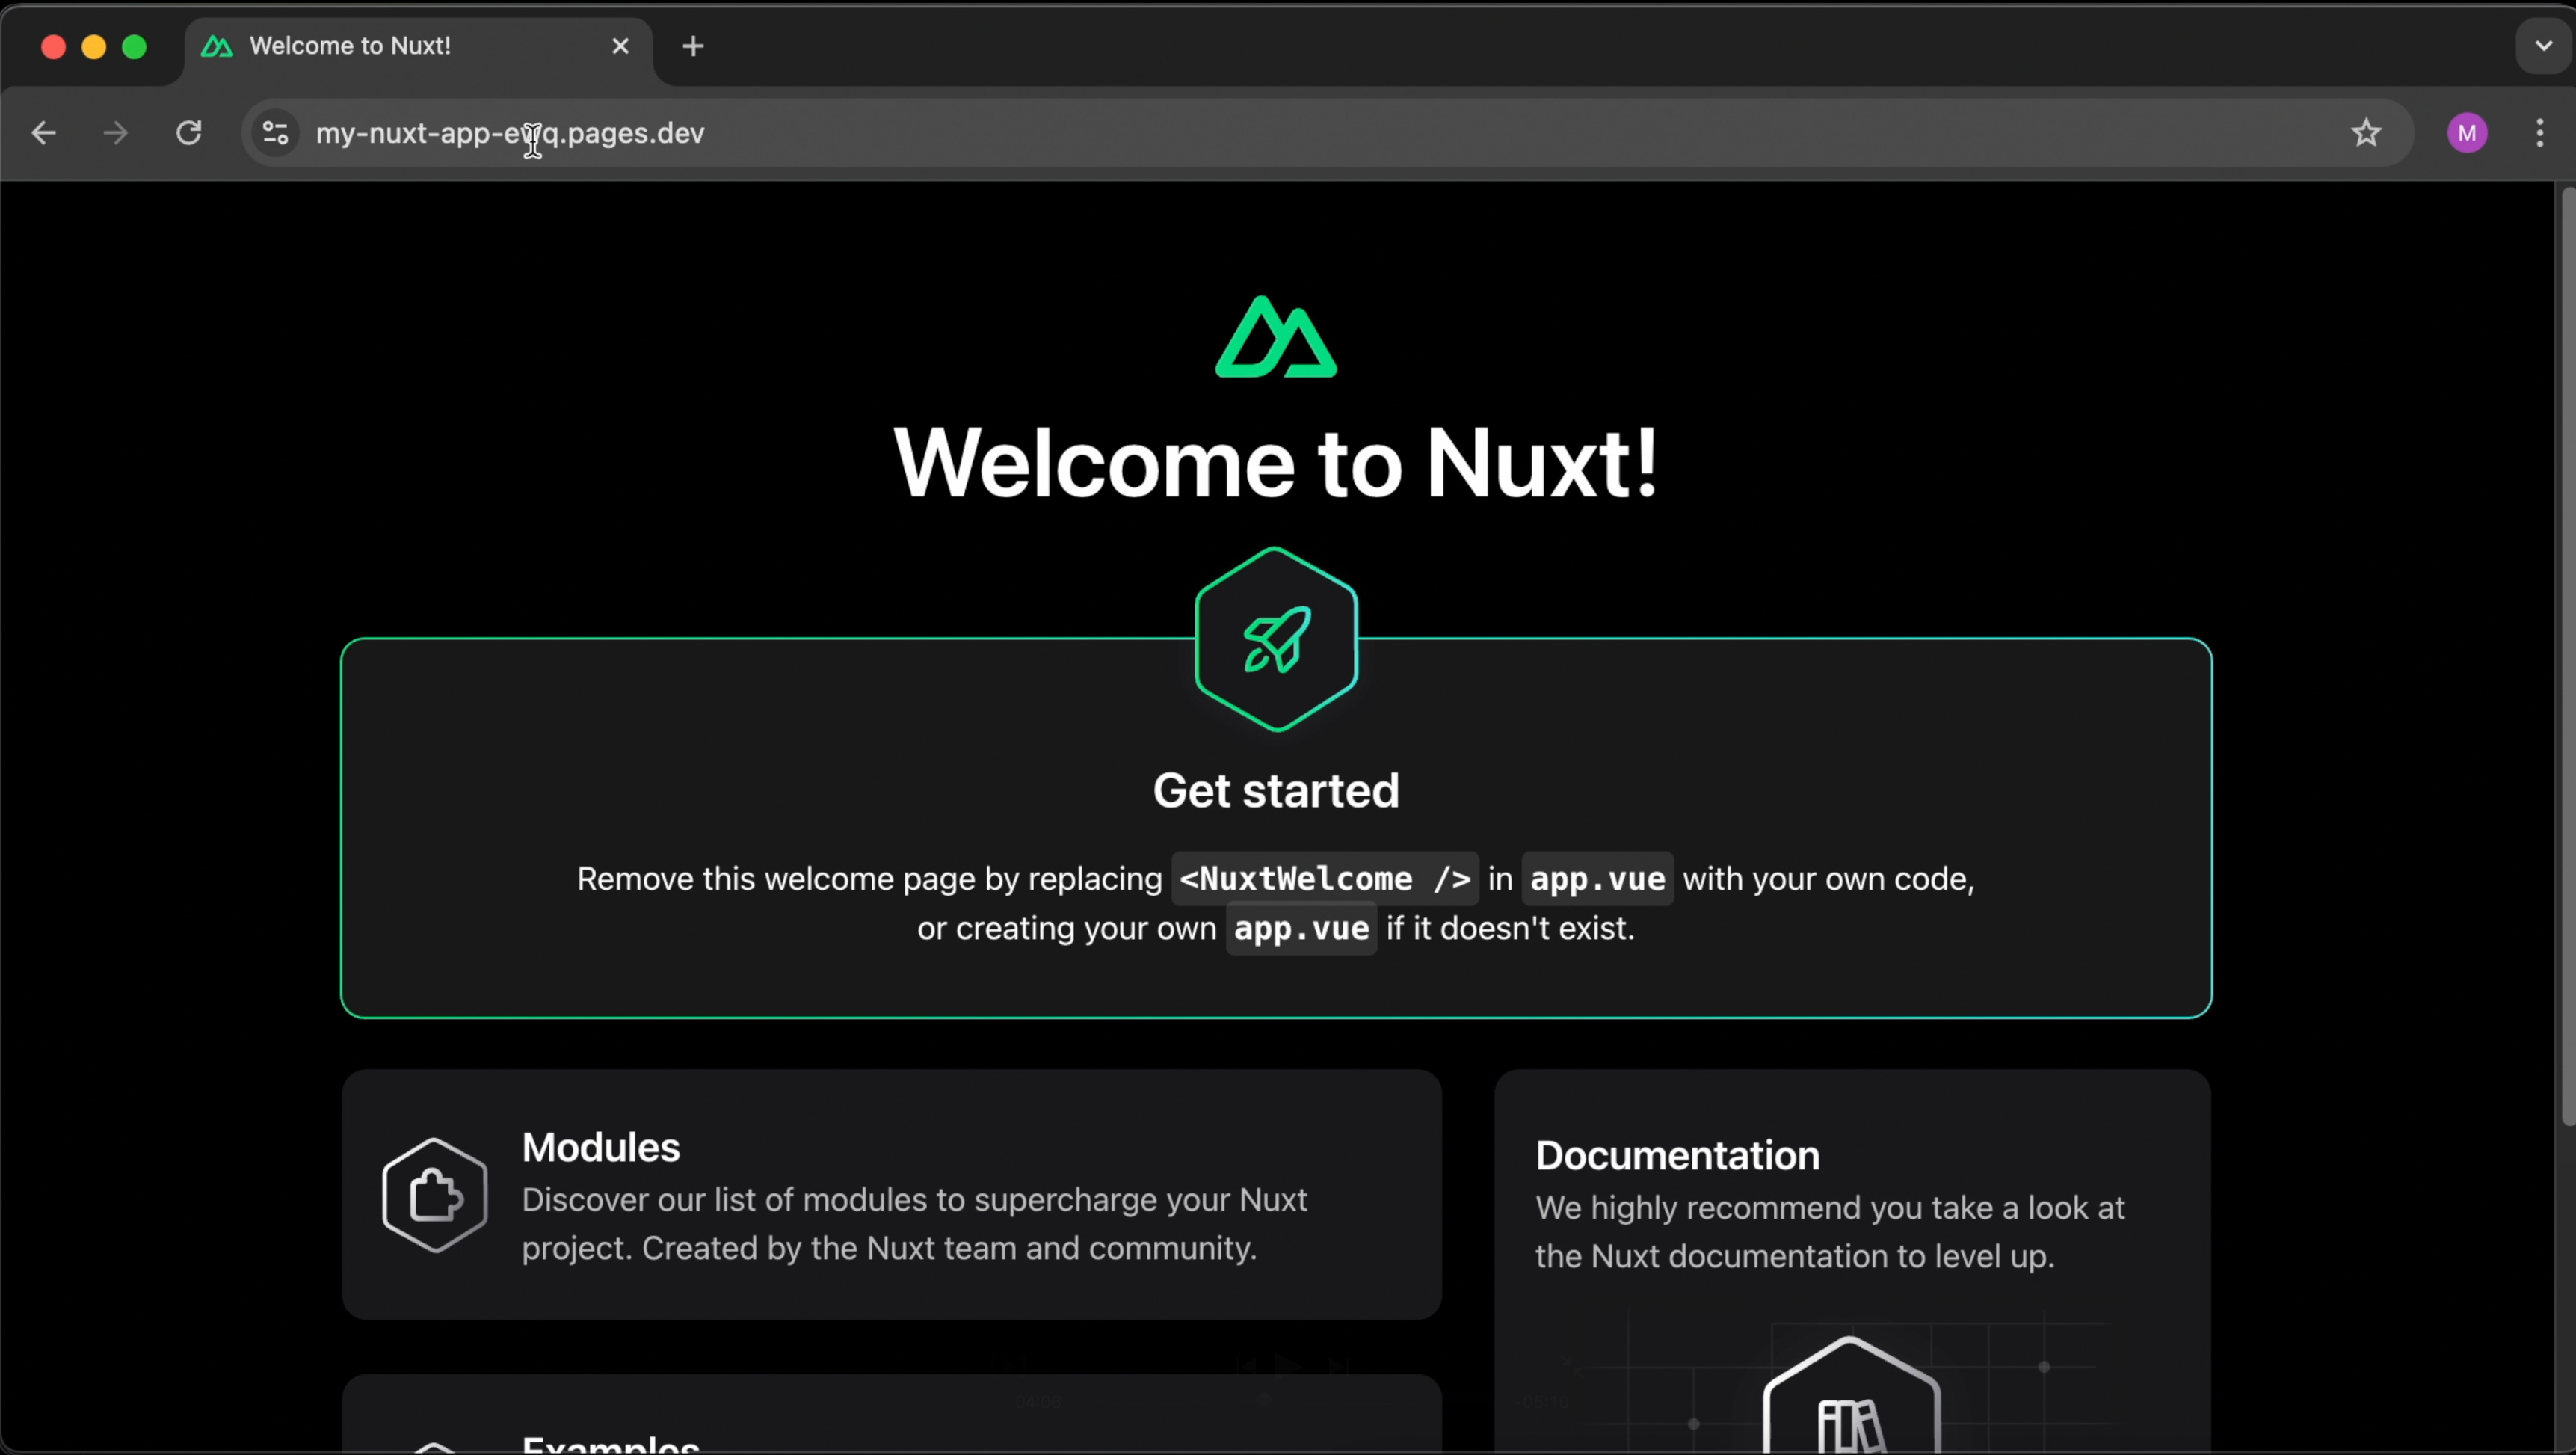
This is the Nuxt example ui for new projects.
The 2 example components <NuxtRouteAnnouncer> and <NuxtWelcome>.
Deploy the App to Cloudflare Pages
Let’s deploy our application to Cloudflare next.
First you have to create a free Cloudflare account.
After creating the account, open your terminal and type npm run deploy.
The script will ask you to log into your Cloudflare account and grant permissions. Follow the script and confirm all the questions by hitting the enter key.
Nice, you’ve just deployed your first Nuxt application to Cloudflare Pages. Now you can open your deployed app in your browser, by clicking the url shown in your terminal.
Okay, the default app looks boring, let’s change it a bit.
So head to the app.vue file. And remove the two example components. You can replace it with any HTML you like.
I will show you how to build nice custom Vue components in a future tutorial. But for now, let’s add a simple <h1>-heading followed by a paragraph.
Let’s run the deployment script again, and observe the newly deployed changes in the browser.
Create an API with Nuxt3
Initially, I told you that Nuxt is fullstack framework. Allowing us to write frontend AND backend code. Let’s write some backend code now.
Do you see the “server” directory? Here we can write server-side code for our app.
Let’s create an api endpoint called hello-world.
API stands for “Application Programming Interface”. Think of it as the bridge between the frontend and the backend.
APIs consist of endpoints. Which are like the destinations where the requests go to.
A todo-list app would have an endpoint for retrieving the todo-items and one for creating items for example.
The frontend can “call” the endpoints by sending a request to the endpoint url.
It’s basically like “hey, backend, give me all the todo-items”.
Ok, enough theory, we want to create a hello-world endpoint, which just delivers a hello world message when requested.
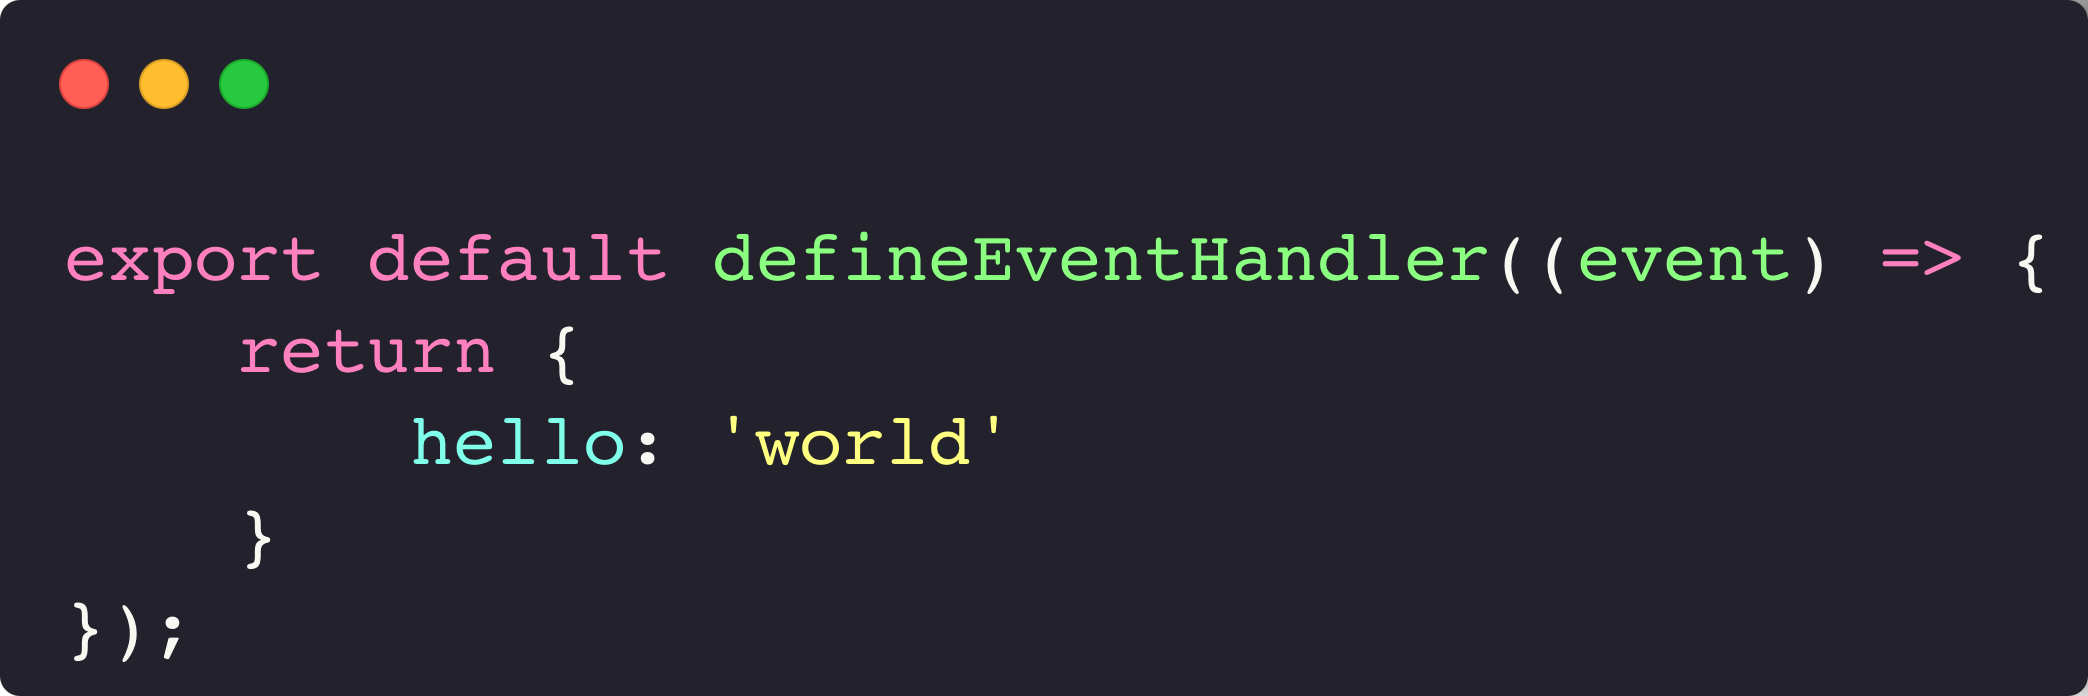
So first create a directory api inside the server directory. Next create a file hello-world.ts.
The following code is used to create an api endpoint with Nuxt. We just return an object. The return value is the response of the endpoint, which will be delivered to the frontend.
What’s also cool 👇
Nuxt picks up files in the api directory automatically and creates endpoints for them.
So we can just send a request to /api/hello-world without any further configuration.
Send a Request from the Frontend with Nuxt3
Let’s open the app.vue file again.
So far, the app.vue component only has a template.
But we need some JavaScript code now, to send the request.
So let’s add a script tag below the template. And give it the setup attribute.
Now we can use useFetch to send requests. Let’s pass the request url as an argument. In our case, /api/hello-world.
Let’s print the result to the console.
Deploy the app again (npm run deploy), and when done, open it in the browser.
Now, open the developer tools and select the “console” tab.
As you can see, the response was logged to the console.
Let’s do a quick recap!
Traditional stacks like LAMP can waste your time with tasks like maintenance, configuration, and backups. You want to focus on developing and writing code.
A tech-stack like Nuxt + Cloudflare Pages help you to focus on writing code.
Nuxt is a fullstack framework based on Vue.js. It enables you to write code for the frontend and the backend.
Cloudflare Pages is a cloud hosting service, that makes it super easy to deploy your Nuxt application.
Okay, that’s it for today. 👍
If you like learning with videos, you can find a video version of this post here.
I hope you liked it and learned a lot! Have a pleasant day and see you next time. 👋