How to Create a Navbar using HTML & CSS
In this tutorial we will learn how to create a simple navigation bar for your website using HTML and CSS.
Let's Start with the HTML Layout
First of all we have to create the HTML elements for our navigation bar, before we are going to style it using CSS.
We need a div container which will contain all the other elements of the bar, like the logo and the navigation links.
So let's start:

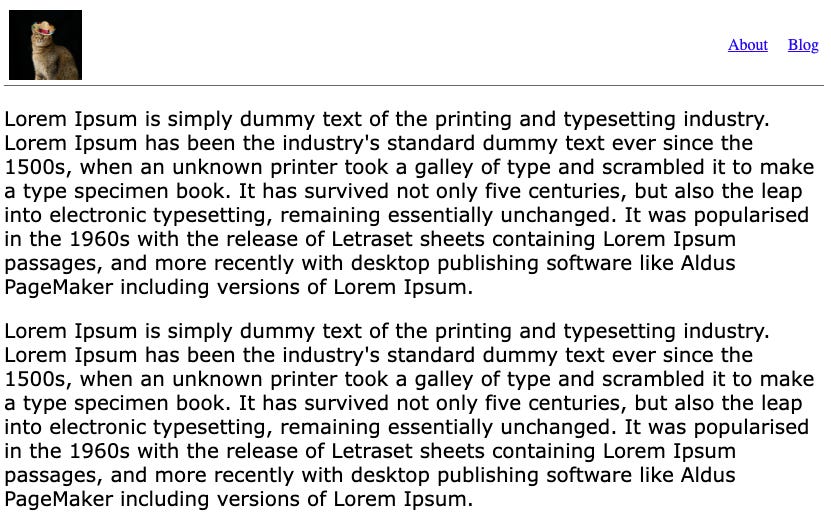
So we have created a navigation bar with a logo image. Here I selected an image of a funny cat 😸, but of course you can change it to the logo file of your website.
Styling the Navigation-Bar with CSS
Next we are going to have a look on how to style the navigation bar with CSS.
We want the navigation bar to stretch the whole width of the website and make it sticky, so when the user scrolls, the navigation bar will always be visible at the top of the website.
So let's have a look at the code:
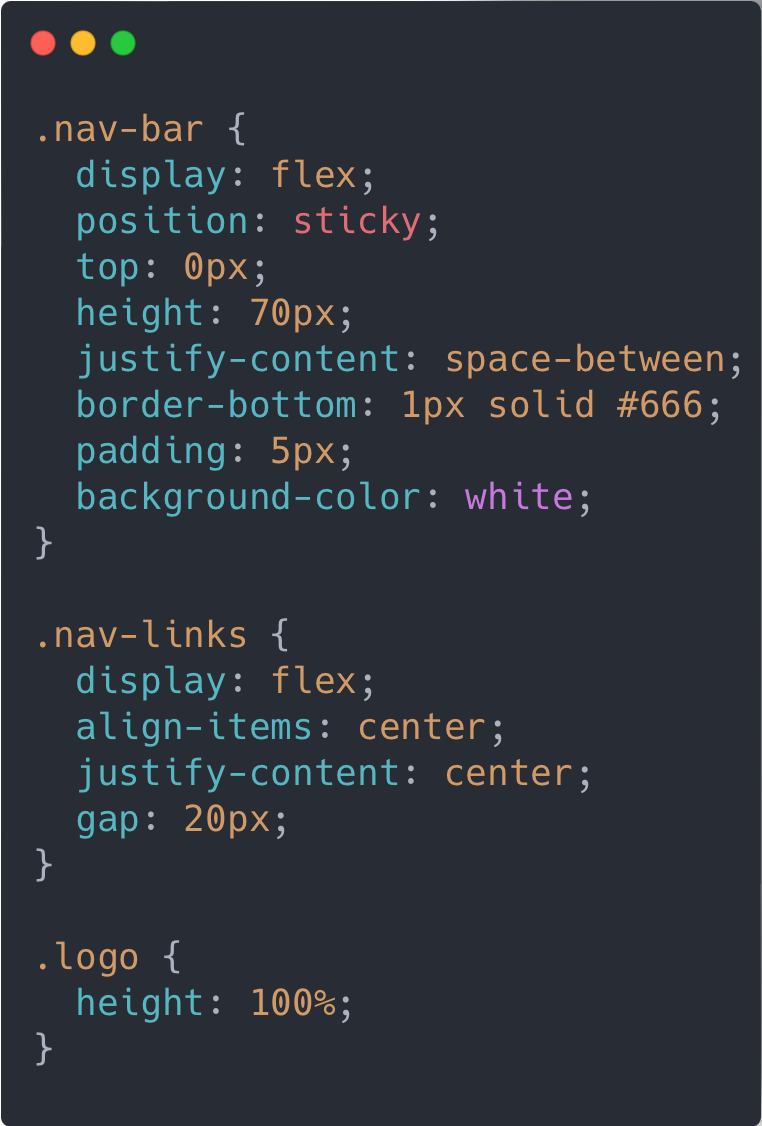
Let me explain the css code step-by-step:
The display: flex, align-items, and justify-content properties of the .nav-bar will make all the elements of the navigation-bar align nicely within the container.
position: sticky and top: 0 will make the navigation-bar sticky. So when the user scrolls the page, the navigation bar will stay on top of the page.
We have to set the height of the logo to 100%, so it won't scale out of the navigation-bar container.
And this is how the navbar would look in the browser: